While creating a CDN Resource, we will use the following basic terms: CDN resource — an entity that includes the name and all settings of the Resource for serving content via CDN. Resource Origin (URL or IP) / Cloud Storage — server (domain) / bucket in Cloud Storage, which is the content source for CDN. Resource name — resource name, can be specified any. External origin (URL or IP) — server (domain) that is the content source for CDN. Cloud Storage — bucket which is created in Cloud Storage and will be used as an Origin.
Please open the form of creating a CDN Resource.
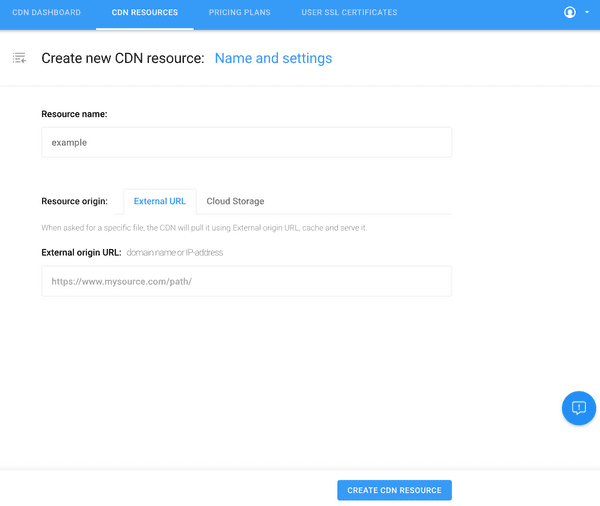
In this area, the name of the Resource and data source for the CDN (Resource Origin) should be filled in. And press the CREATE CDN RESOURCE button. The Resource Origin can be either an external resource External source (URL or IP) or our Cloud Storage. You need to select an existing bucket with added files or create a new one.
Please note that when you connect AnycastCDN immediately after registration, you will need to select a pricing plan and then CDN RESOURCE will be created.
Here you can create a User Domain — the domain, which will be used to distribute content via CDN. You can add one at a time or in bulk (ADD BULK). In case you don’t add User Domain, the content will be served from CDN through System Domain.
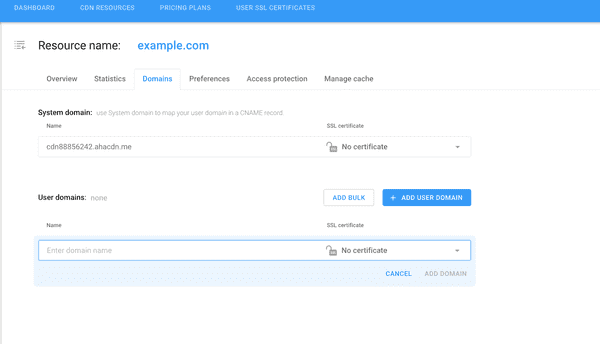
In the window below you need to enter your domain and install an SSL certificate for it.

You can either install your own certificate, or a free Let’s Encrypt with auto-renewal.
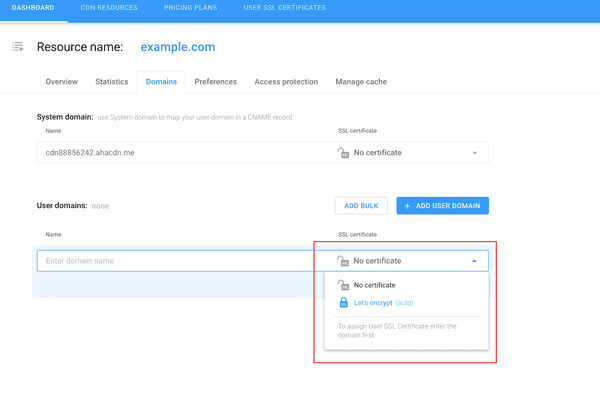
Do not forget to point the Custom Domain in DNS for our System Domain.
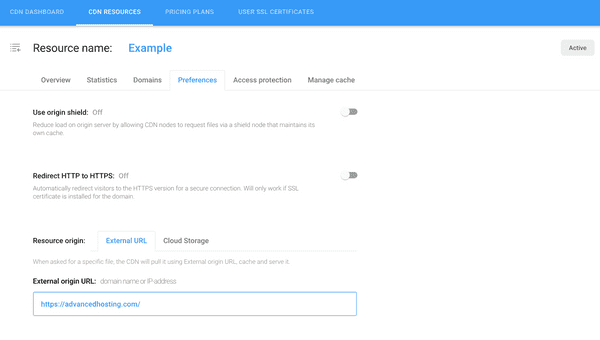
This is the Tab for editing and managing Preferences.
You can enable the options Origin Shield, Redirect to HTTPS. To apply the changes, click SAVE CHANGES.
By default, all options are disabled.
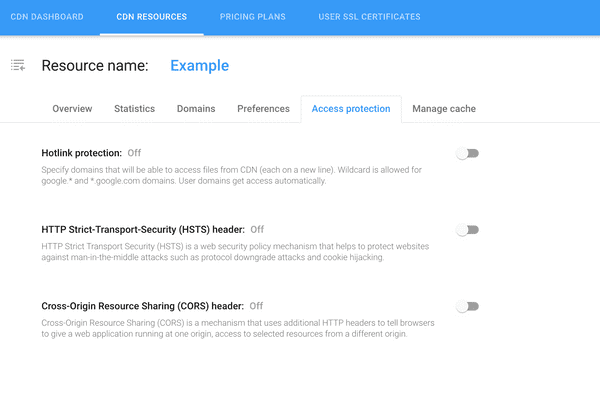
To enable Hotlink Protection, enter a list of allowed and denied domains.
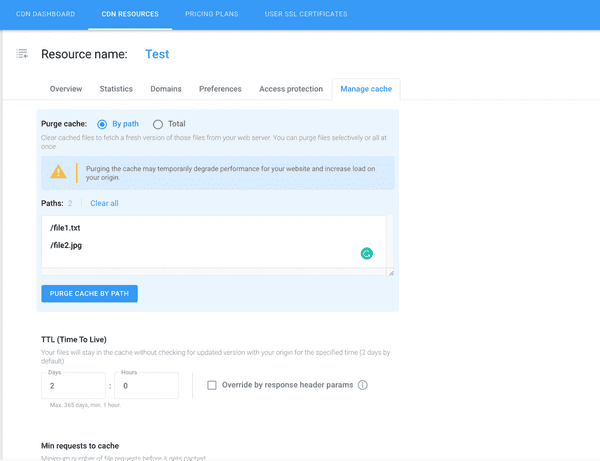
To manage the cache and related settings.